在Ubuntu下安装Blessing Skin Server
安装环境
操作系统:Ubuntu 20.04.3
“安装环境”还是“安装”环境呢
添加 PHP 8.1.2 相关的软件源
目前 Ubuntu 20.04 的软件源里并没有 8.0 以上版本的 PHP,所以需要添加非官方源
1 | ~# add-apt-repository ppa:ondrej/php |
更新索引并升级
1 | ~# apt update |
安装 Apache2 和 PHP 8.1.2
目前 Ubuntu 20.04 的软件源里添加非官方源
1 | ~# apt install apache2 php8.1 |
安装必要的 PHP 插件
1 | ~# apt install php8.1-mysql php8.1-mbstring php8.1-gd php8.1-xml php8.1-zip |
启用 RewriteEngine
1 | ~# a2enmod rewrite |
安装并配置 MySQL
安装
1 | ~# apt install mysql-server mysql-client |
为皮肤站创建一个数据库
1 | ~# mysql |
为皮肤站创建一个用户
1 | mysql> create user 'blessing'@'localhost' identified by 'blessingskin'; |
为用户 blessing 分配数据库 blessingskin 的权限
1 | mysql> grant all on blessingskin.* to 'blessing'@'localhost'; |
重新加载权限表
1 | mysql> flush privileges; |
安装 Blessing Skin Server 6.0.0-rc.2
下载
1 | ~$ wget https://gitee.com/snowmoonss/blessing-skin-server/attach_files/965315/download/blessing-skin-server-6.0.0-rc.2.zip |
解压到 /var/www/bs
1 | ~# unzip blessing-skin-server-6.0.0-rc.2.zip -d /var/www/bs |
复制配置文件
1 | ~$ cd /var/www/bs |
生成 app key
1 | /var/www/bs# php artisan key:generate |
更改目录所有者为 Apache2 的运行账户
1 | ~# chown -R www-data. bs |
复制一份示例站点的配置文件并保存为 bs.conf
1 | /var/www/bs$ cd /etc/apache2/sites-available |
编辑 bs.conf,我这里用的是 vim 编辑器,可以使用自己手熟
1 | /etc/apache2/sites-available# vim bs.conf |
ServerAdmin 按需修改,服务器出现某些错误的时候会显示在页面上 DocumentRoot 改为 /var/www/bs/public,也就是刚才解压到的文件夹 ErrorLog 和 CustomLog 按需修改 经我测试,AllowOverride FileInfo 会报错(来源):
1 | /var/www/bs/public/.htaccess: Options not allowed here |
我太菜了,无法得知还需要什么权限,遂 All 了:
1 | <Directory /var/www/bs> |
最后的配置文件就是这样的:
1 | <VirtualHost *:80> |
更加进阶的内容还请自行探究
关闭 Apache2 自带的示例站点,启用配置好的 bs.config 并重新加载 Apache2 配置文件
1 | /etc/apache2/sites-available# a2dissite 000-default.conf |
启动!
第一次打开的界面应该是这样的:
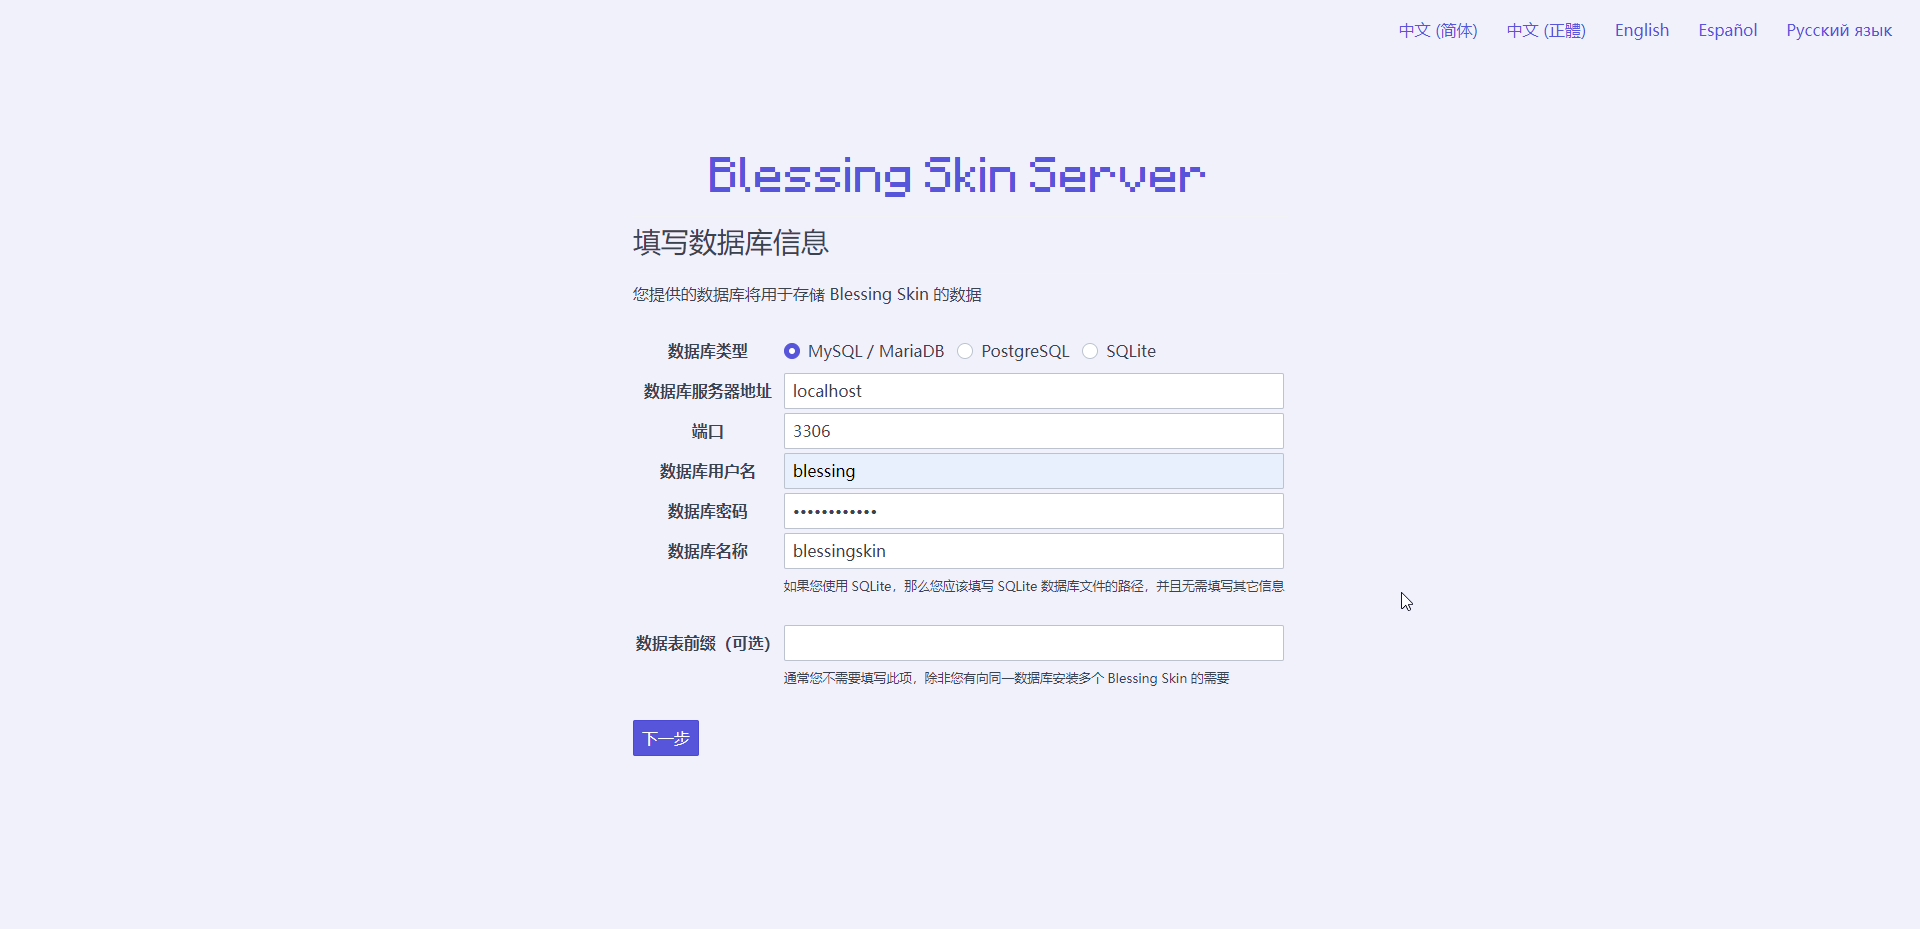
此时单击下一步然后填写数据库信息,相信刚才创建数据库的时候有记住都干了些什么吧: 按照提示填写就行:
恭喜你,安装成功!